3D Printed Car Seat Recliner
When I got my 2005 Ford Explorer, I quickly discovered it was missing the driver’s side seat recliner handle. For nearly a year, I endured the embarrassment of using pliers every time I needed to adjust my seat. During a flash of productivity, I decided to put my 3D modeling skills to work and create a replacement myself—saving both my dignity and the $3 a new handle would cost.
The Challenge
My first instinct was to take the proper engineering approach: meticulously model each gear tooth to create an exact replica of the original handle. However, I quickly learned that translating the complex geometry of those tiny gear teeth from physical measurements into CAD software was far more challenging than anticipated.
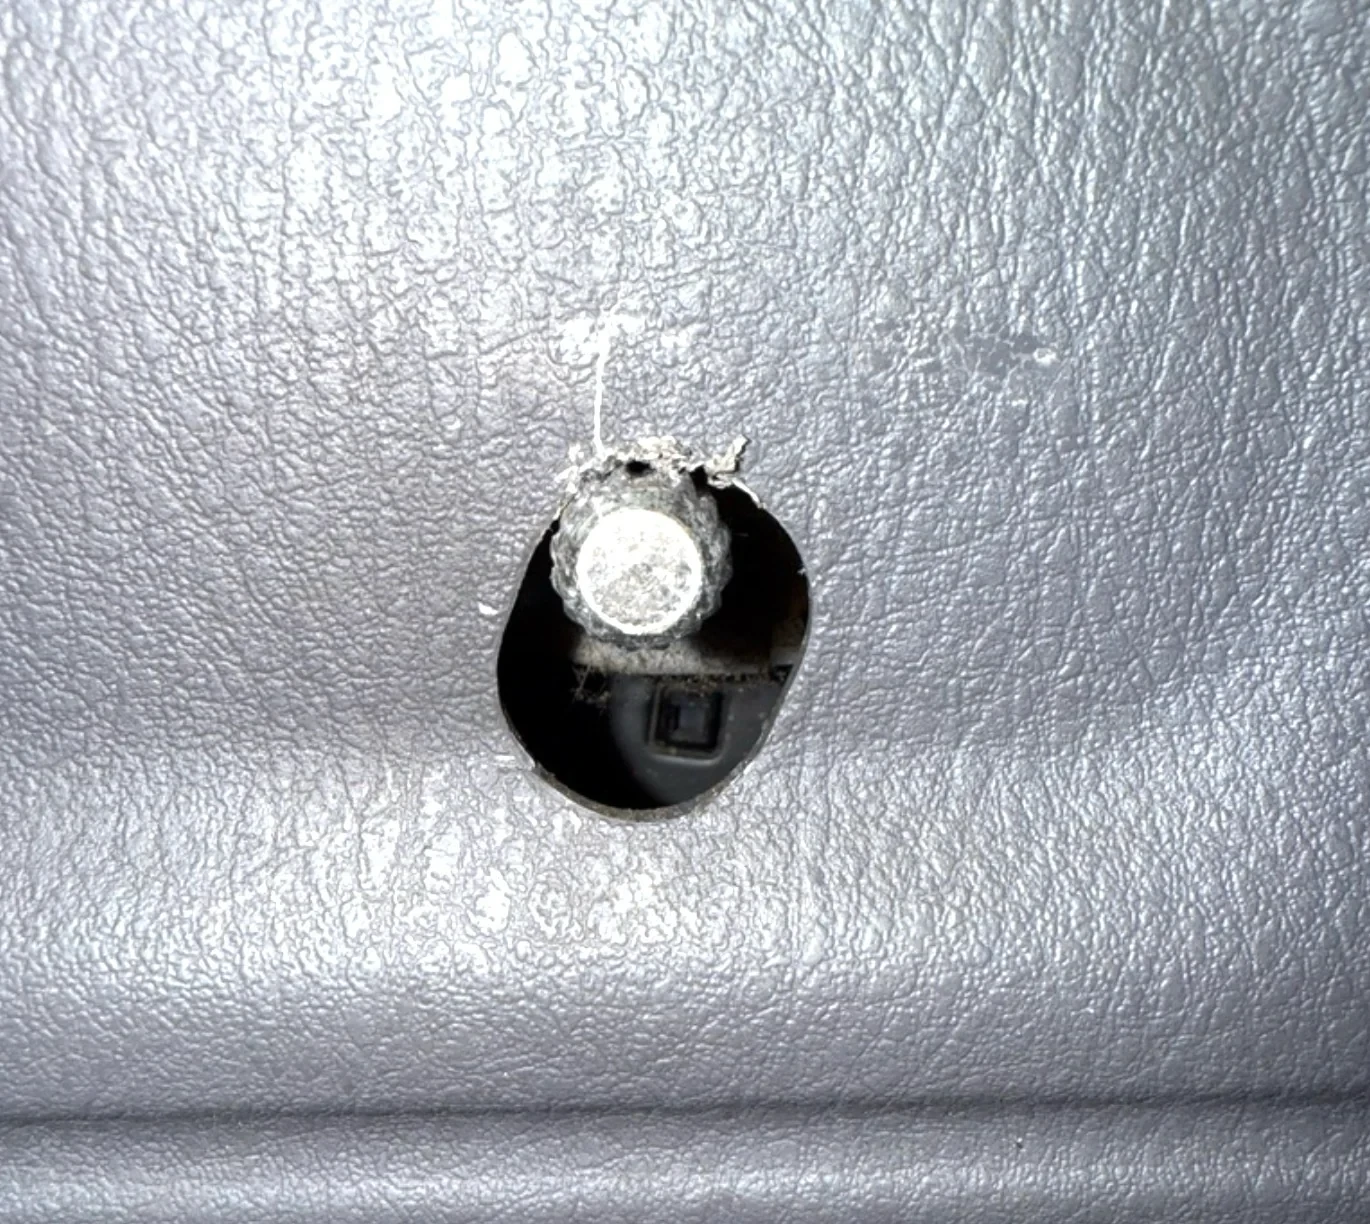
The precision required for proper gear tooth profiles, pitch calculations, and clearances would have turned this simple fix into a semester-long engineering project.
The Pragmatic Approach
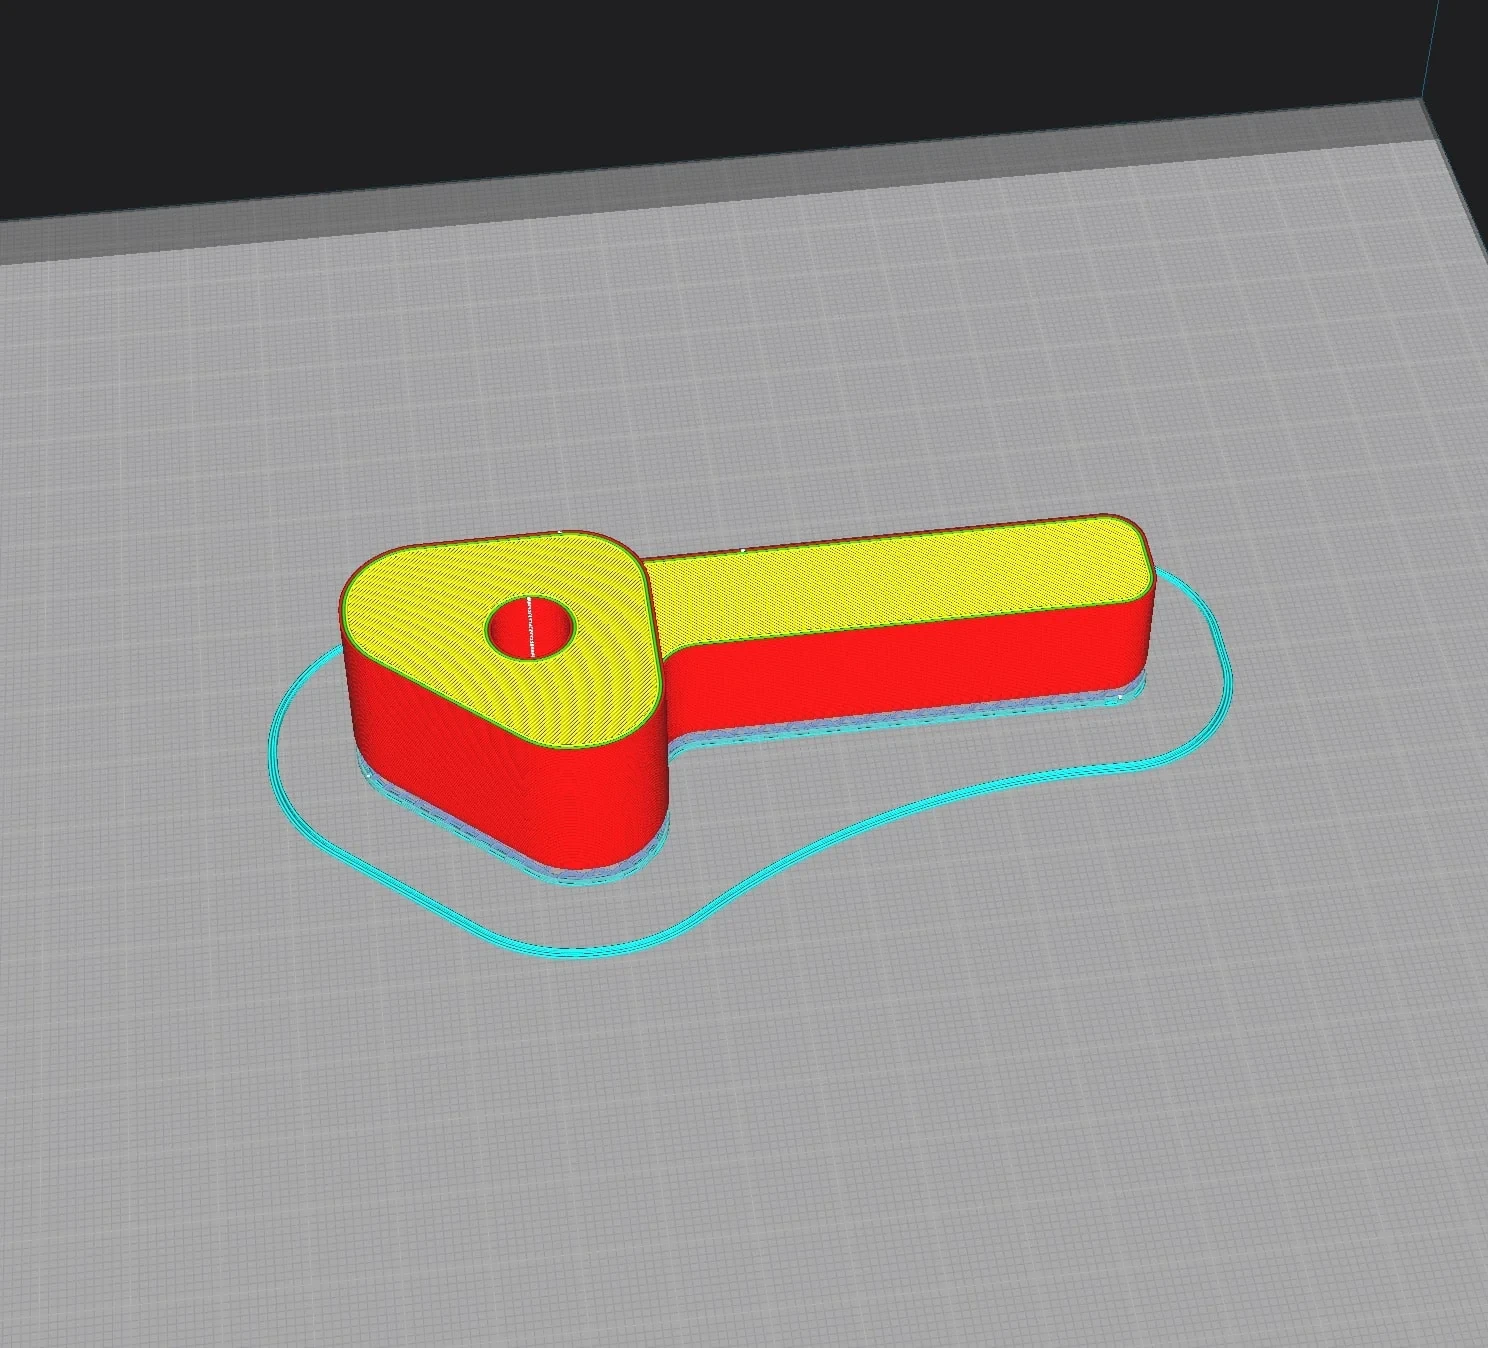
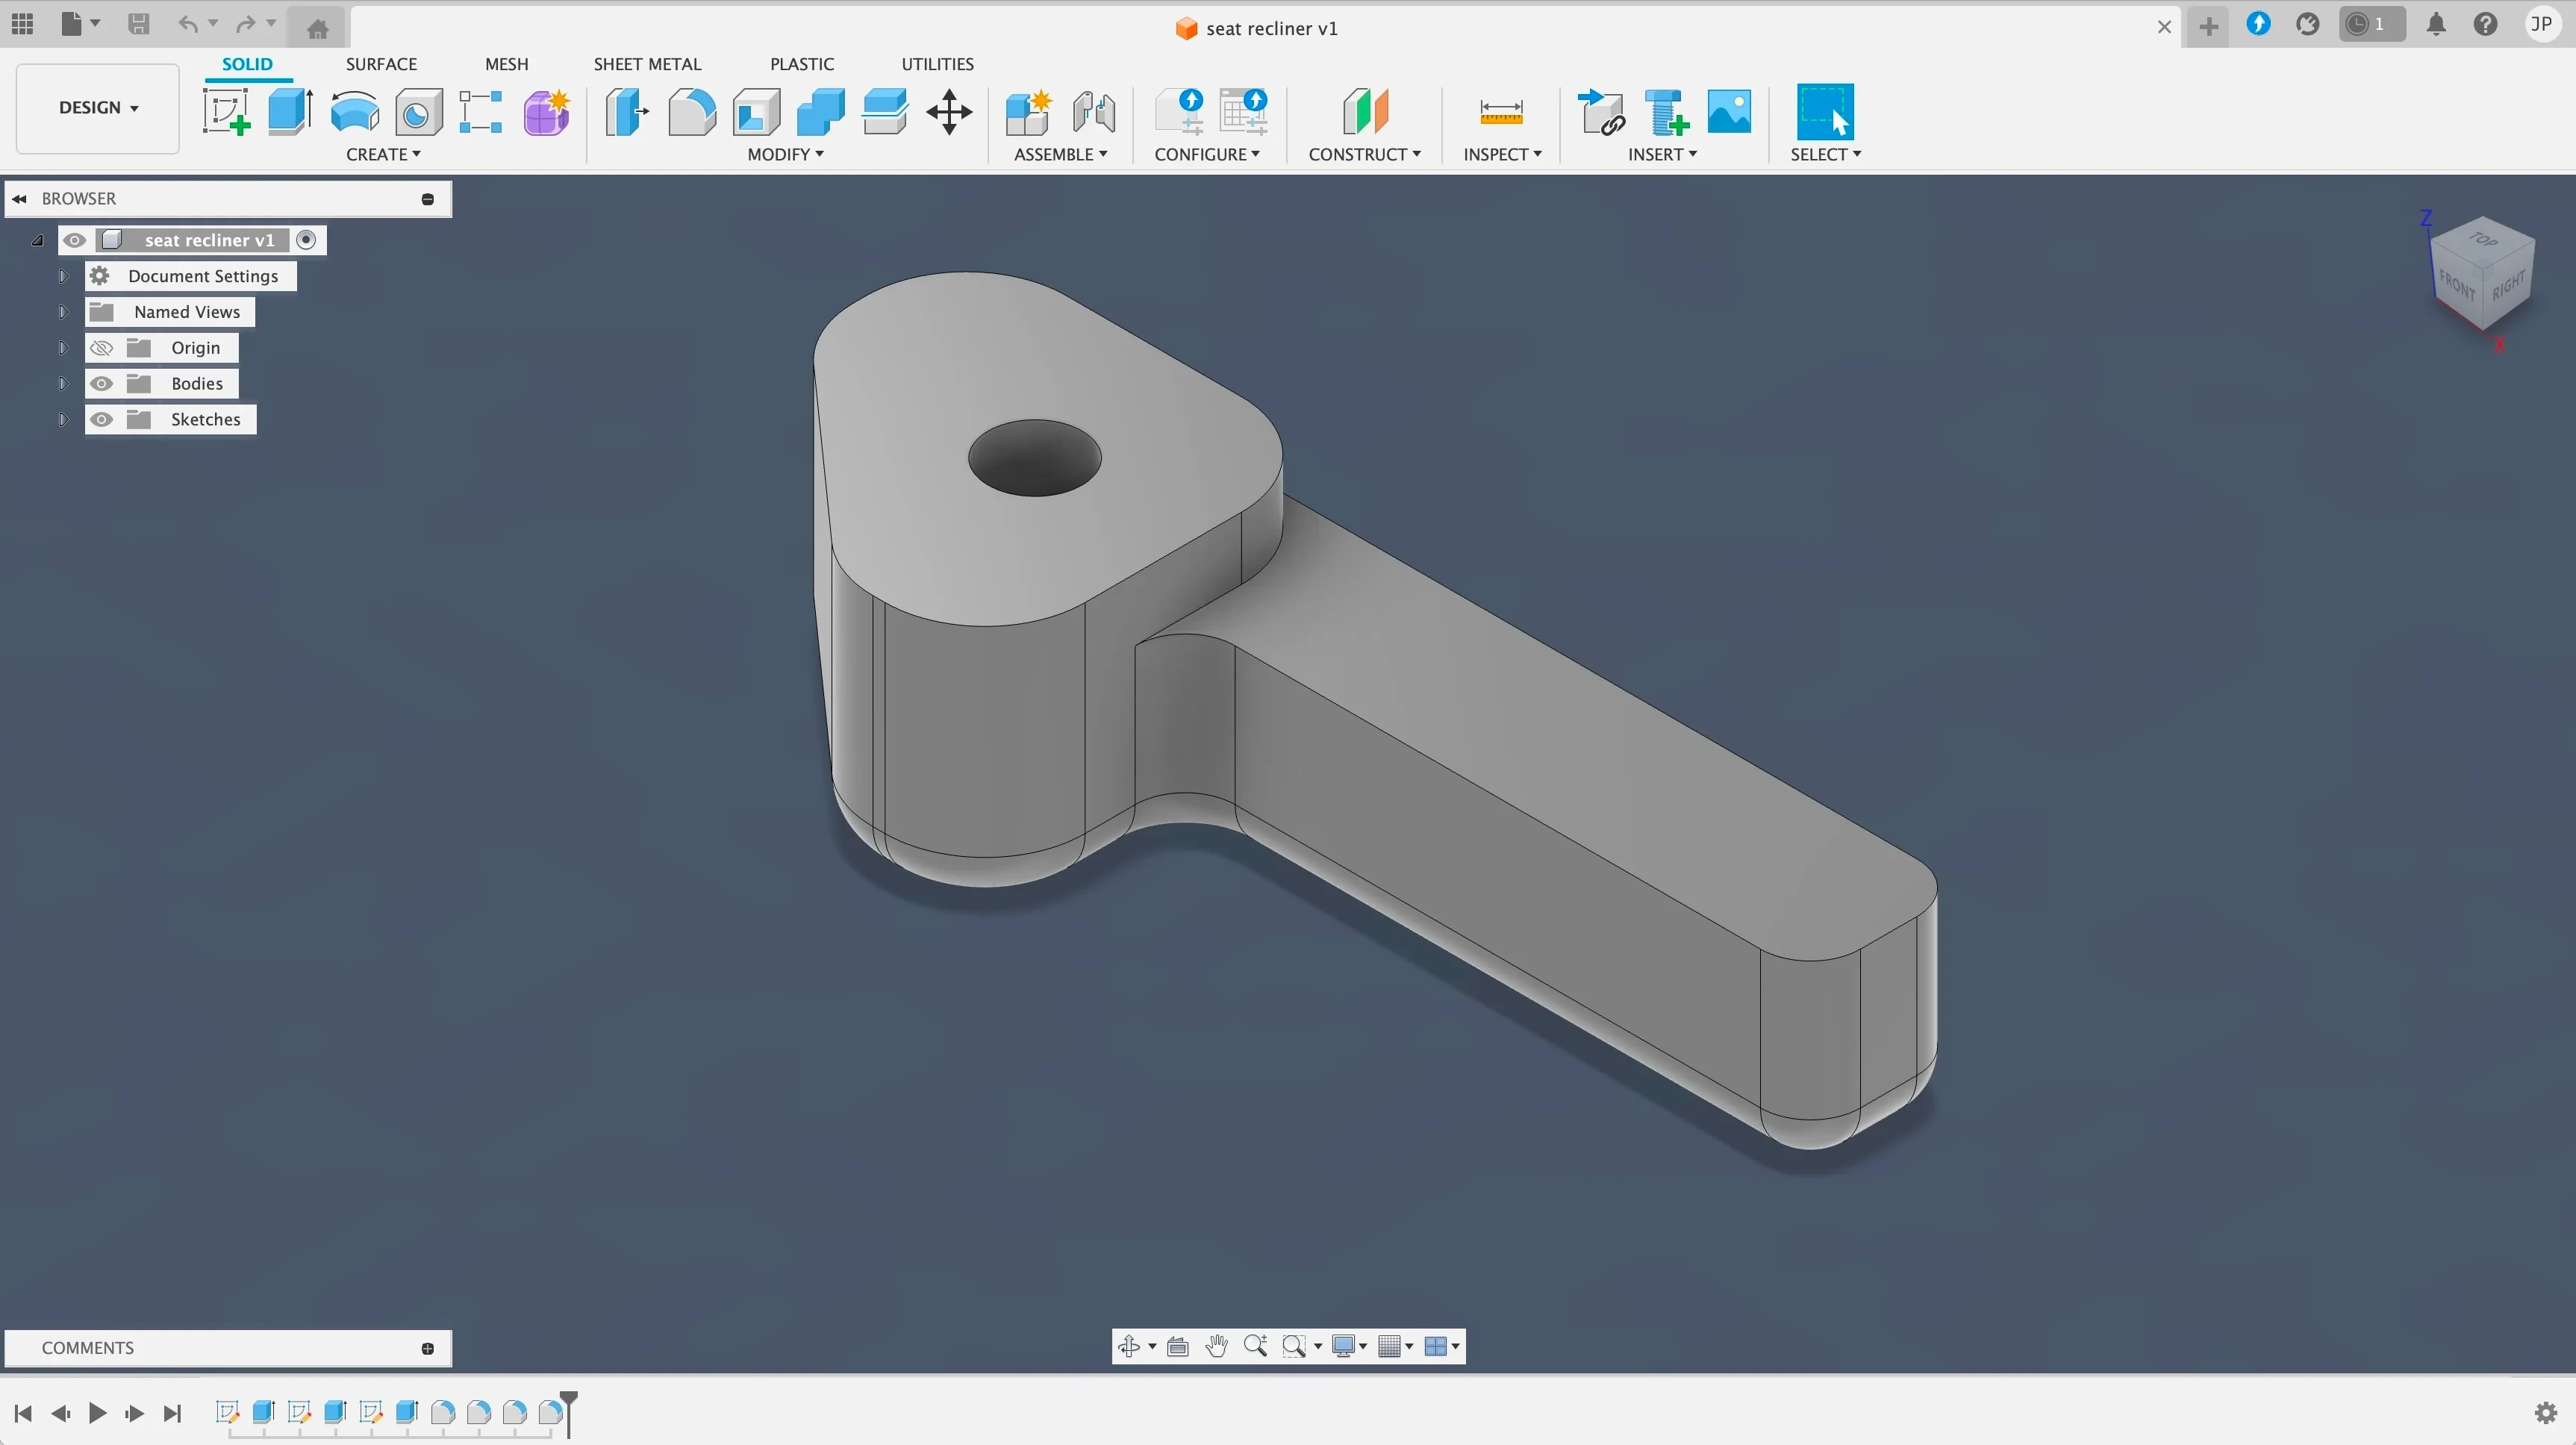
Instead of getting bogged down in gear theory, I chose a more practical route. Using Fusion 360, I modeled the handle’s external shape while taking a deliberately simple approach to the gear interface. Rather than modeling individual teeth, I sized the inner diameter to slip over the existing gear with some clearance, planning to use hot glue to fill the gaps and create the necessary grip.
This “brute force” method offered unexpected advantages: the hot glue would provide additional structural strength and create a custom fit that perfectly matched the worn gear’s unique characteristics.
The Build and Installation
I printed the handle on my Ender 3 V2, though Murphy’s Law struck immediately—my usual gray filament had run out, leaving me with only bright pink PLA. Aesthetics aside, the print quality was excellent.
The installation process was refreshingly hands-on: I heated up my hot glue gun, filled the handle’s bore with adhesive, and used a rubber mallet to firmly seat it onto the gear mechanism. After allowing the glue to cure, I finally retired the pliers that had been living in my door pocket for months.
The finished product works flawlessly, and I’ve made the model available on Thingiverse for anyone facing a similar predicament.
Lessons Learned
This project illustrates the value of practical problem-solving over perfection. While my solution won’t win any engineering awards, it successfully transformed a daily annoyance into a source of satisfaction. More importantly, it instilled a key principle: the best solutions are often the simplest.